Lab Week 13 - Fall 2024
Tuesday, November 26, 2024
Introduction
In this lab, you will
- Implement a recursive function to draw a Sierpinski triangle.
- Draw a set of nine cubes in three-dimensional space as a 3 X 3 X 3 set of cubes.
- Draw a Rubik’s Cube in three-dimensional space by creating 9 cubes using six faces each of different colors.
Create a folder named lab-13 for this lab in your 15-104 folder/directory.
For each problem, you will start with a copy of the uncompressed template-p5only.zip in your folder named lab-13. Rename each subfolder based on the problem: andrewID-13-A, andrewID-13-B, etc.
Problem A: Sierpinski Triangle
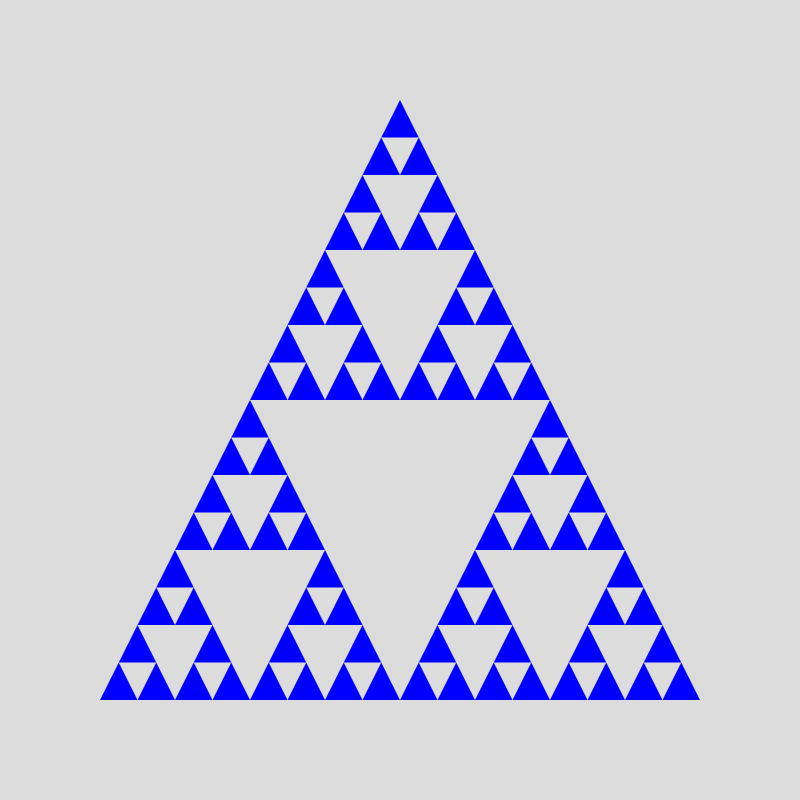
This is an example of a fractal, an image that is self-similar. When you look at parts of the image, you see the original image.
One of the most famous fractals is the Sierpinski Triangle which is a triangle that is divided up into three triangles which are divided up into three triangles each, which are divided up into… you get the idea.
To draw this sketch, we start with a large triangle of blue. We then find the midpoints of each of the three sides and draw a triangle between these points in the background color. Finally, we repeat the midpoint process with each of the three remaining blue triangles that are formed when we draw the triangle in the background color. Each of these triangles is “split” into three smaller triangles. This repeats until we reach the number of levels of repetition.
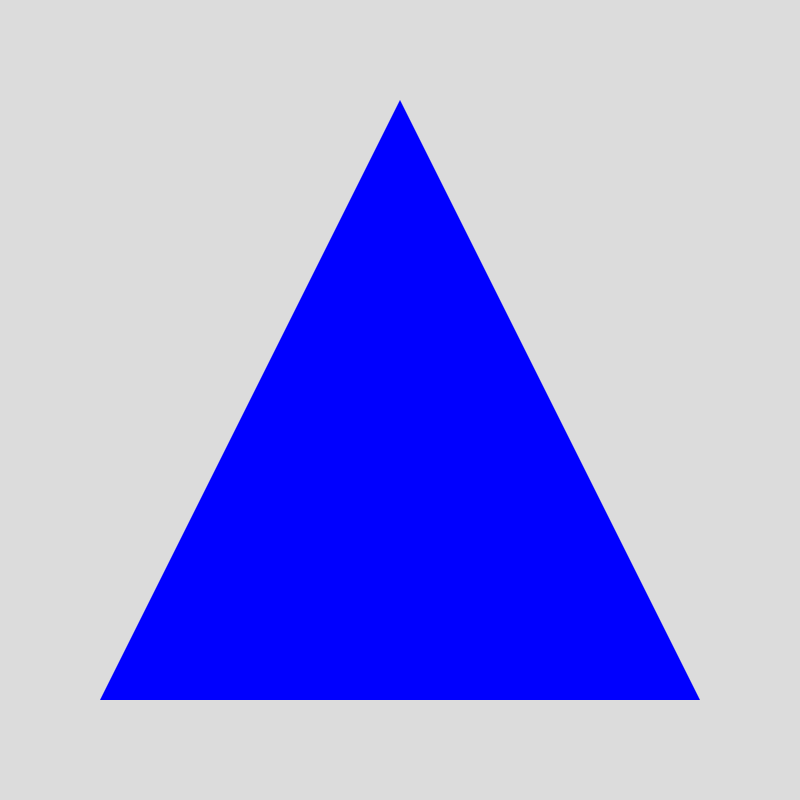
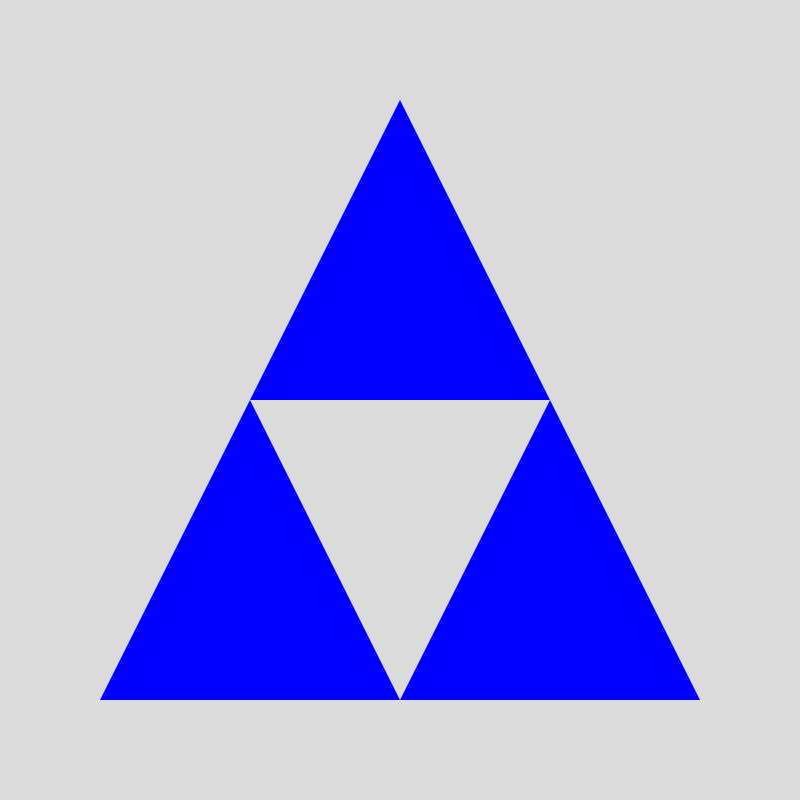
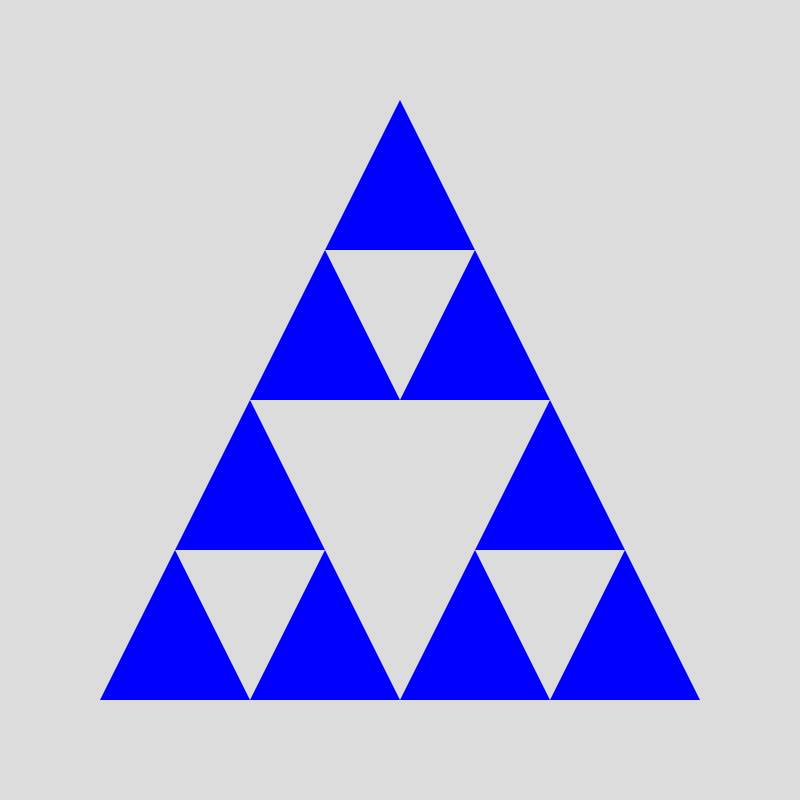
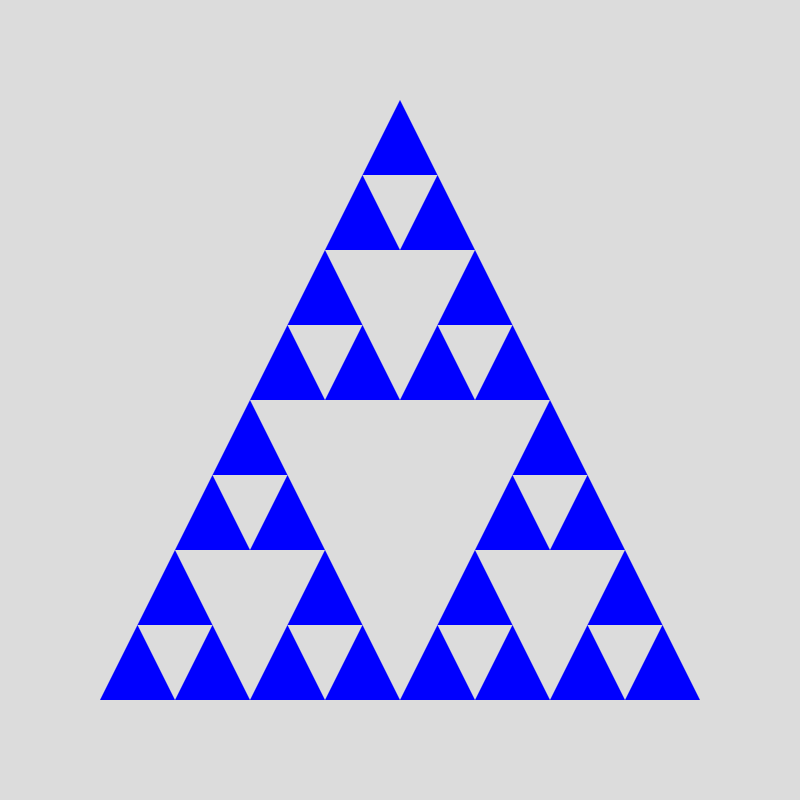
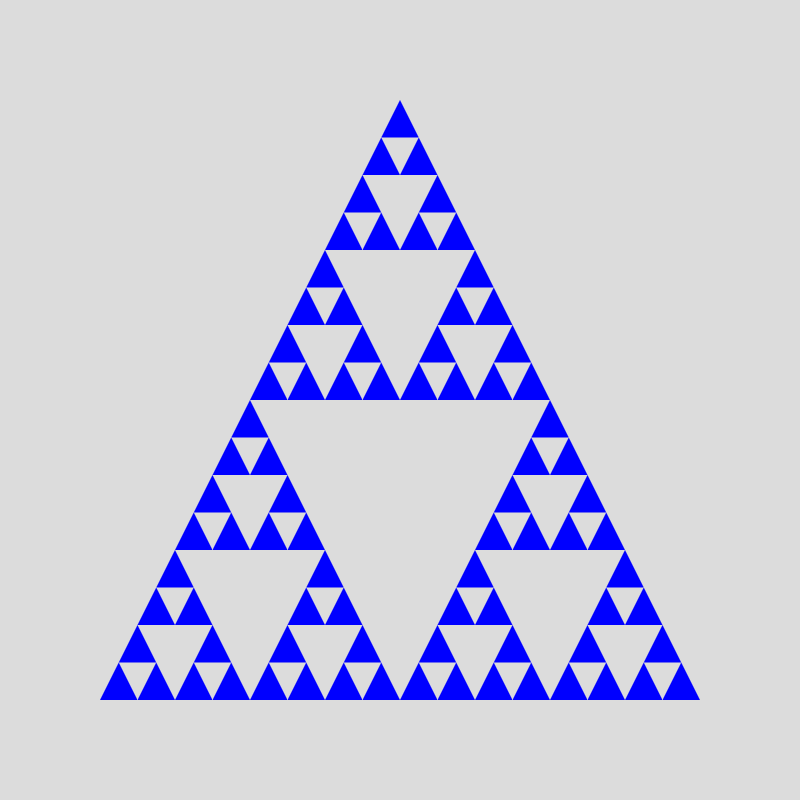
Complete the function splitIntoThree based on the comments to guide you.
var numLevels = 4;

function setup() {
    createCanvas(400, 400);
    frameRate(10);
    noStroke();
}

function draw() {
    background(220);
    fill(0, 0, 255);
    triangle(200, 50, 350, 350, 50, 350);
    splitIntoThree(numLevels, 200, 50, 350, 350, 50, 350);
    noLoop();
}

function splitIntoThree(levels, x0, y0, x1, y1, x2, y2) {
    // base case: if there are no more levels left to draw, we're done:


    fill(220);   // background color
    var x01 = midpt(x0, x1);   // midpoint of x between x0 and x1
    var y01 = midpt(y0, y1);   // etc.
    var x12 = midpt(x1, x2);
    var y12 = midpt(y1, y2);
    var x20 = midpt(x2, x0);
    var y20 = midpt(y2, y0);

    // draw a triangle using the midpoints:


    // split each of the remaining blue triangles with one less level
    // (hint: you should have three recursive calls here,
    //  each call will have a list of x and y points for one of the
    //  remaining blue triangles):


}

function midpt(a, b) {
    return (a + b)/2;
}
Problem B: Cube of Cubes
Write a program that creates a 3 X 3 X 3 set of cubes. each of size 100 X 100 X 100 in three dimensional space. Remember that you need to use the WEBGL renderer, and that the camera is initially facing in the -z direction, with x increasing toward the right and y increased downward and the origin (0,0,0) is initially in the center of the canvas. Use the orbitControl function in the draw function to allow you to use the mouse to move around the set of cubes once you’re done to check your work. Here is a picture of the expected result, once the mouse is used to move around in 3D space a little.
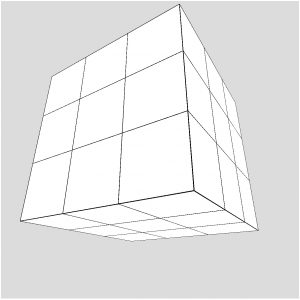
You should use the box function to create each cube, remembering that this function will draw the shape centered at the origin, so to draw all nine boxes, you will need to use transformations to move the origin.
LOOK FOR PATTERNS HERE! Where is the center of each of the 9 cubes? Do you see the pattern? You should be able to use a set of three nested loops to solve this problem, and if so, you will only need to write a call to the box function once.
Problem C: Rubik's Cube
Make a copy of the code for the previous problem and modify the copy so that the 3 X 3 X 3 cube you draw looks like a Rubik’s Cube in a solved state (ie. each side is all of one color).
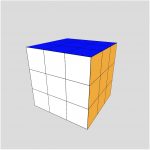
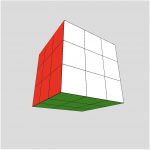
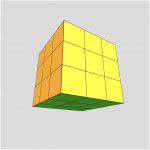
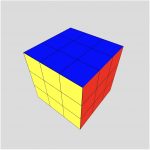
First, add a global variable size that represents the size of the box so that you can use other values other than 100. Update your program to use size instead of 100.
Now, think about drawing the 9 boxes in color. This is a bit more challenging than it might seem. When you draw each of 9 boxes, you need to color each side a different color,
Front: white
Back: yellow
Left: red
Right: orange
Top: blue
Bottom: green
but the box function won’t let you do this.
Instead, replace the box call in your draw function with a call to a separate function drawColorBox that you will write. In this helper function, you should draw a box centered at the origin that has 6 faces (but you won’t use the box function anymore). Draw a wire view of a box on a piece of paper and determine the coordinates of the 8 corners. HINT: Let sz2 be half the size variable; your coordinates should all be in terms of sz2. To draw each face, you will fill with the appropriate color, and then use beginShape, vertex (4 times) with the appropriate coordinates and endShape to create a square. (You can’t use the square function in 3D space since it doesn’t have a z coordinate parameter.) You will need to draw 6 squares (faces) to make the box.
fill("white");
beginShape();
vertex(-sz2, -sz2, sz2);
vertex(-sz2,  sz2, sz2);
vertex( sz2,  sz2, sz2);
vertex( sz2, -sz2, sz2);
endShape();
Your draw function will then call this drawColorBox function 9 times to create the 9 boxes. When you’re done, you should be able to see something that looks like a Rubik’s Cube.
Change the size to 50 for a smaller cube. Use the mouse to look around the Rubik’s Cube to make sure you correctly programmed all sides. If your mouse has a scroll wheel, scroll in and see what happens when you get too close.
Problem D: Recursive Tree (time permitting)
Try to draw this picture recursively:
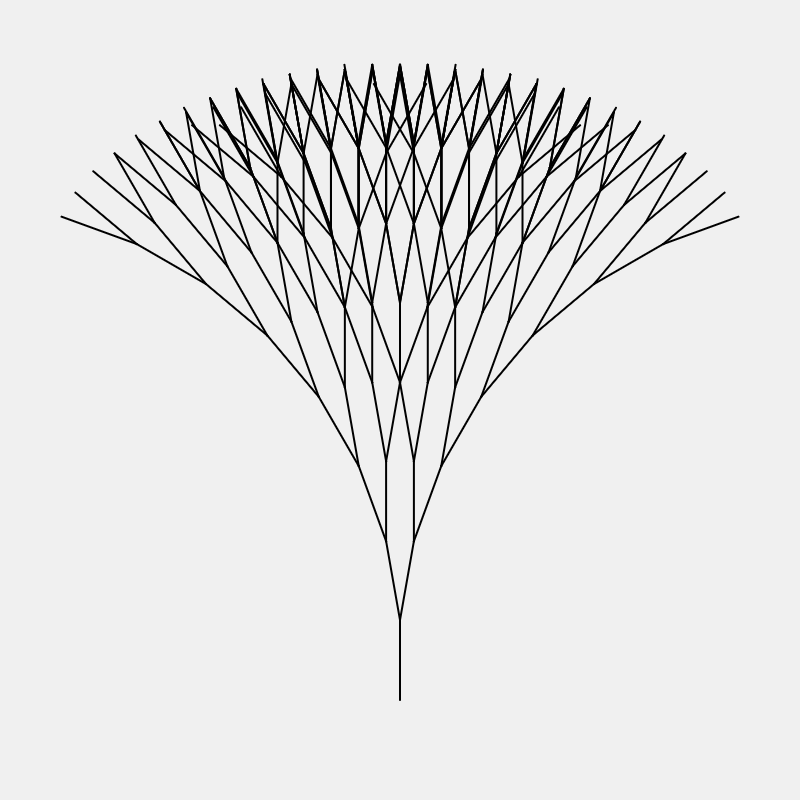
Once you run out of time, you should submit your final completed work for credit.
Do not worry if you did not complete all of the programming problems but you should have made it through problems A and B, and you should have some attempt at problem C. Problem D is not required, but it is given for those who want a challenge.
- YOU MUST HAND IN AT THE END OF LAB. THE AUTOLAB DROPOFF LOCATION CLOSES 30 MINUTES AFTER ALL LABS END. YOU WILL NOT GET FULL CREDIT FOR THE LAB IF YOU HAND IN MORE THAN 30 MINUTES AFTER YOUR LAB ENDS.
- Compress your final working lab-13 folder into a zip file.
- Hand in the compressed file to Autolab in the Lab 13 assessment location.
- REMEMBER to check what you submitted in Autolab by looking at the submission file. (Do this for the deliverables too!)