PROCEDURE
To build our toy, we used MDF (Medium Density Fiber Board) from the drama machine shop to construct the sides of the toy. We also used plexiglass from the drama machine shop to construct the top of the toy. Lastly, the small balls inside the toy (½” ball bearings) were purchased from McMaster Carr.
We built our toy using the table saw, center punch and drill press.
First, we used the table saw to cut out pieces of for the sides and top of the toy. We also used the table saw to cut the plexiglass top of the toy. The table saw has a ruler that allows you to cut the desired lengths b positioning the MDF appropriately on the table.

Second, we laid out the toy's dimensions of the MDF cut-out for toy’s top, making sure that all of the holes were evenly spaced. We measured the positions of the holes with a square and marked them with a pencil.
Then, we used a center punch to create small holes in the top piece of the toy wherever we planned to create semi-circles. A center punch is a hand-held tool that creates small holes in a material for the purposes of subsequent drilling (the drill bit grips onto the holes). The center punch works by ‘punching’ a hole in the material when sufficient pressure is applied to the top of the tool.

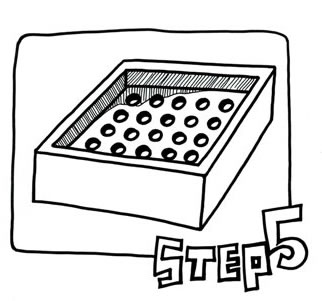
Once the holes were laid out and center punched, we used the drill press with a 1/4 inch corebox router bit (purchased from Lowes) to create the semi-circles on the top of the toy. On the drill press, we had to make sure that the drill didn't go below a certain height and drill too deep into the material. So, we set a lock on the tool to prevent this.

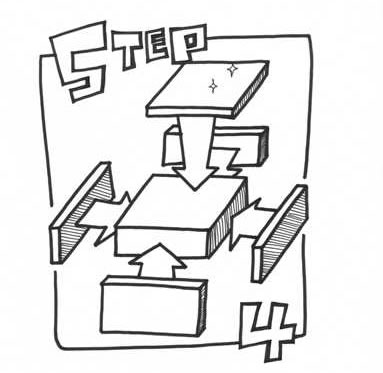
Finally, the sides and plexiglass top of the toy were glued to the top of the toy.

And...We are done!

|