Single View Modeling
Xuewen Chen
In this assignment, I constructed 3-D models for two different images, a real scene and a painting, based on the technique described in paper written by Criminisi et. al. as well as our class notes.
Part 1: house model
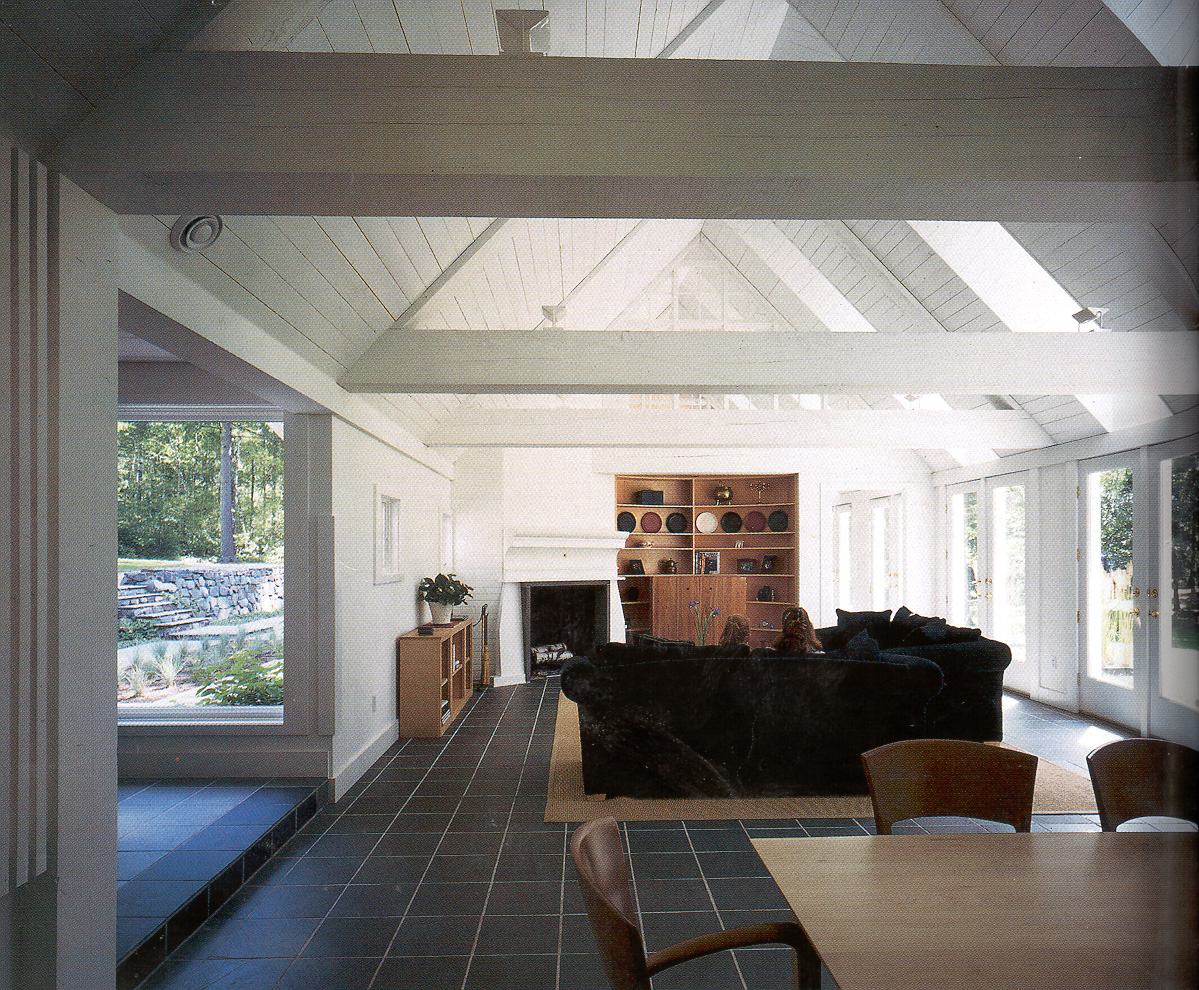
First, I scanned a photo from the Journal " Architectural Record" (vol. 86, no. 4, p114, 1998) as shown in figure 1. I chose this house interior since I thought it would be easier to find parallel lines in X, Y, and Z direction. But soon I found it was not a good choice since almost all planar patches I needed were occluded.

Figure 1 original image (house)
I used the method described by Collins to compute vanishing points. Figure 2 showed the lines I used to compute vanishing points.

Figure 2 house with marked lines
Figure 3 is the reconstructed scene, far away from the input image.
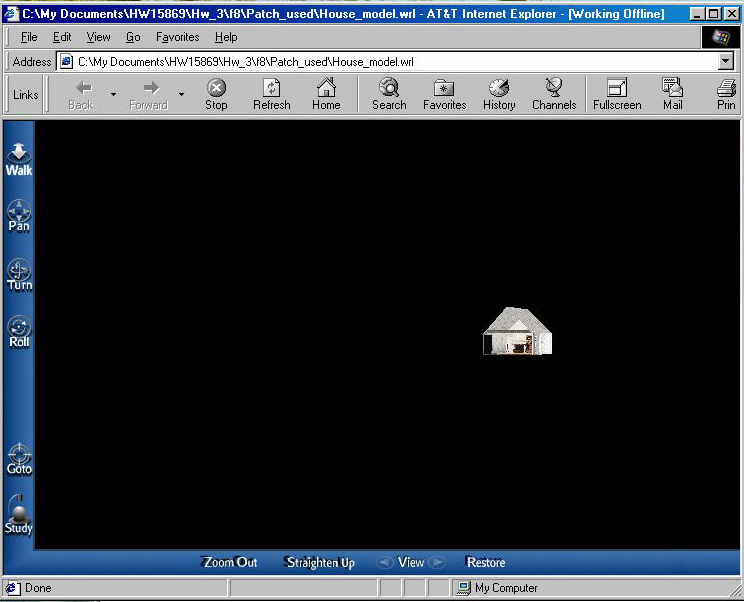
Figure 3. a still image of a new view
To construct the 3-D model, I used eleven patches. Figure 4 shows one of the texture (back wall) I used.
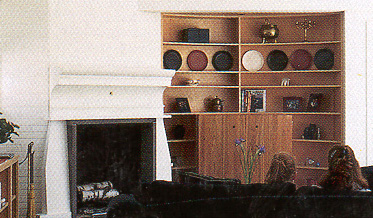
Figure 4. back wall from input image
As can be seen, the back wall was occluded by sofa and human heads. I used photoshop on PC to edit the text image: mark the sofa and heads and replace them using textures in input image. Figure 5 shows the texture map after retouching.

Figure 5. back wall after retouching
Following image shows a reconstructed 3-D model .

Figure 6. a reconstructed scene
Figure 7 shows the user interface.
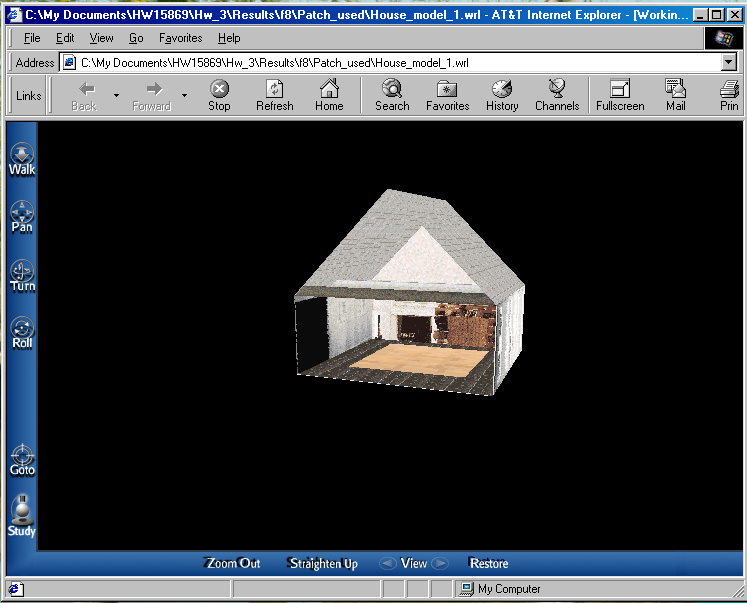
Figure 7. user interface
Figure 8 shows the VRML model with camera.

Figure 8. scene with camera
Corresponding VRML files (with and without camera position) can be found at bottom.
Part 2: painting
In this part, I scanned an italian painting, "The Fano Alterpiece" by Perugino from the book " A chronicle of Italian" (page 123), as shown in figure 9.

Figure 9 painting
Figure 10 shows the lines I used to compute vanishing points.
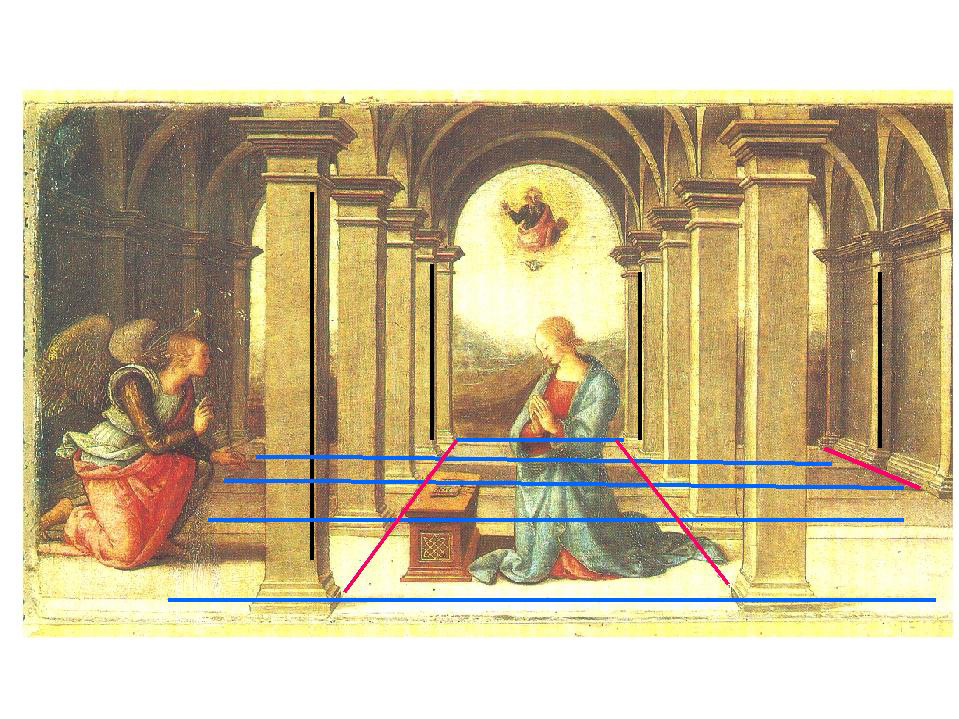
Figure 10 painting with marked lines
Figure 11 shows a reconstructed scene from a new view.

Figure 11. a new view of this model
Figure 12 shows one of the texture maps I used before retouching.
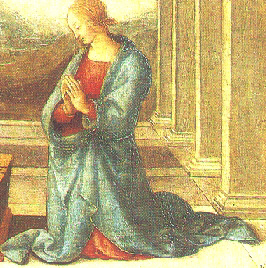
Figure 12. texture before retouching
I used Photoshop in PC to mark all part except the lady and then made them transparency. Figure 13 shows the result after retouching.

Figure 13. scene after retouching
Figure 14 is a reconstructed 3-D model.
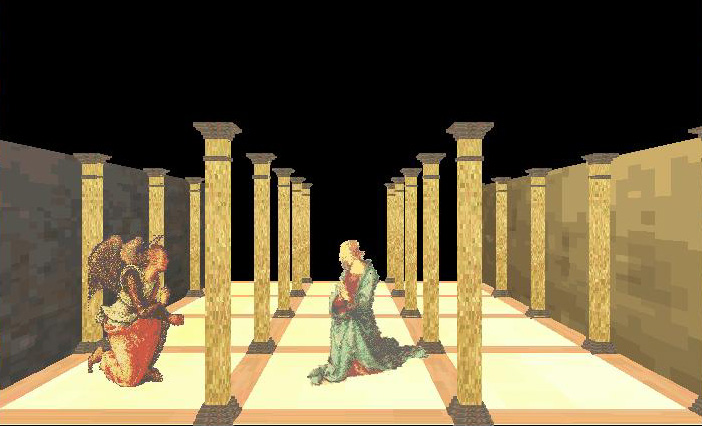
Figure 14. reconstructed model
Figure 15 shows the user interface.

Figure 15. user interface
.If I had more time, I would:
VRML model
: