Programming
Assignment #3: Single View Modeling
Terence Sim
Oct 21, 1999
Table of Contents:
Description
GUI
Texture maps
Output
Comments
VRML model
Description
This goal of this assignment is to create a 3D model from a single image,
using the method of Criminisi et. al. (ref).
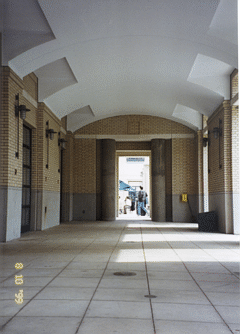
The original image I used is a photograph of the University Center at CMU.
I took a picture using a 35mm camera, developed the photo, and scanned
it in at 300dpi at a scale of 800x1115 pixels (click on image below for
full-size picture):
|
Original photograph: 800x1115 of CMU University Center
Matlab GUI
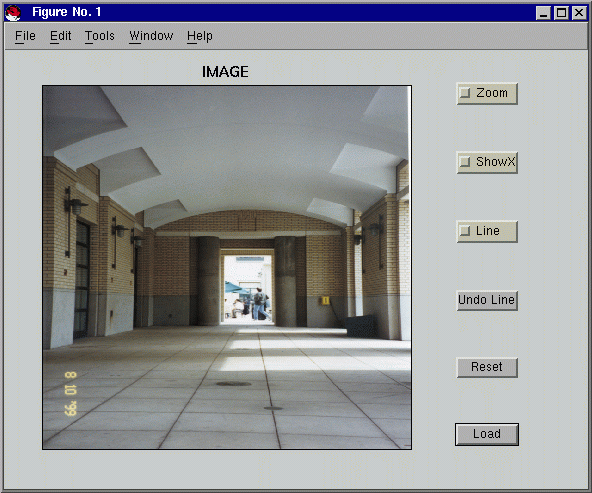
I created a simple GUI to zoom in, capture and print the locations of the
points I would mark. This allowed me to compute the various vanishing
points: Vx, Vy, and Vz, as well as the homography H, and the scale factor
alpha (from one known height). Computation of the vanishing points was
done using Bob Collins' algorithm. The reference height was physically
measured to be 127 cm, and the 4 reference points form roughly a square
of length 167 cm. The GUI, and the points I marked, are shown here:
|
GUI to zoom and display the coordinates of points
that I marked.
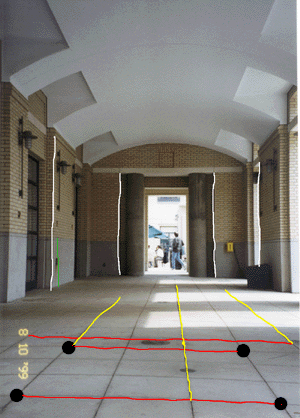 |
Red lines: for Vx, Yellow lines: for Vy, White lines:
for Vz. Green line: reference height. Black dots: 4 reference points
for homography.
Computing texture maps
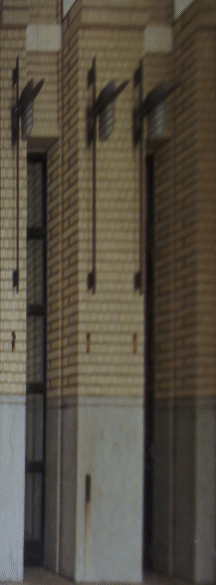
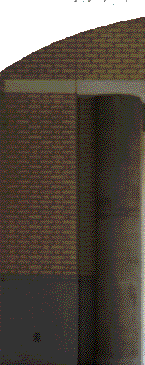
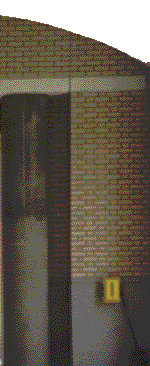
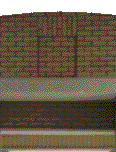
Next, I generated the texture maps for 7 planar surfaces: the left and
right walls, the floor, the center entrance, the panels on both sides of
this entrance, and a top panel. I did not model the ceiling as it
is curved. The texture maps are shown below. I used Adobe photoshop
to touch up some of these maps. For instance, the date stamp from
my camera was removed by painting over with neighboring pixels. Also,
the black box at the bottom of the right wall was removed. Furthermore,
I cropped out the people and objects visible through the center entrance,
and made that region transparent. Since the ceiling is curved, I
painted over parts of it which appeared in the left and right panels and
made them transparent. These edited texture maps are as follows:
|

|
|
|
|
|
Top row: left and right walls (box removed)
2nd row: left and right panels
3rd row: (left) center entrance (objects removed)
(right) top panel

|
Texture map for floor. Click to see actual size (2357x380
pixels)
I painted over the date stamp from my camera.
Output
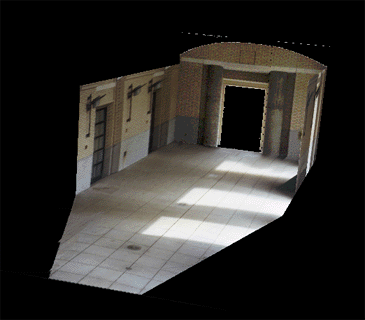
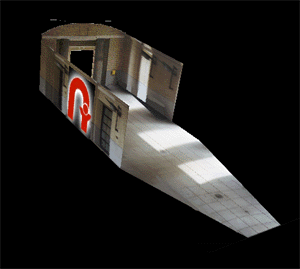
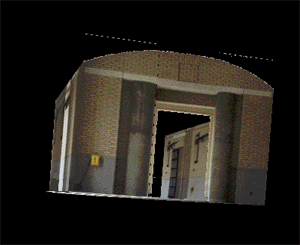
With all these in place, I computed the 3D world-coordinates for the 7
surfaces and generated a VRML model of the scene. I even included
a little surprise: a logo of the Robotics Institute where I am a
student. Here are some views:
|
|
|
3 new views of the scene. I included an RI logo
in the middle image. The bottom image is a back view showing that
the entrance is transparent, since the wall is visible through it.
Comments
I encountered the most difficulty with the VRML browser: several I tried
didn't work. Finally I settled on GLview, but this did not render
the texture maps whenever I changed the VRML file. I had to quit
and rerun the browser. Due to the inaccuracy of locating points in
the original image, I computed slightly different heights for the walls.
I manually enforced consistency, so that the end points of each wall have
the same height. Also, there was some minor errors in the coordinates
of the top curved panel. I manually corrected the coordinates for
better alignment.
If I had more time, I would:
1. Model an Italian renaissance art painting, such as the Last Supper
by Leonardo da Vinci.
2. Improve my GUI so that more of the computation can be automated.
3. Improve the texture maps: although I removed the box at the bottom
of the right wall, I did not remove its shadow on the floor.
4. Model the curved ceiling, the lamps on the wall, and the people
visible through the entrance.
5. Include the location of the camera.
6. Compute more length/breadth measurements, say, of the lamps on the
walls.
VRML model
uc.wrl (may cause WorldView to crash, use Cosmoplayer instead)
uc2.wrl (smaller gif files, so WorldView should not crash)


